Tuesday, January 15, 2013

Fudge Mountain Cookie Dough Cake


As you can see, this cake is completely gluttonous and over the top, which is what makes it so fantastic.  I made it for Christmas but it's sure to be a hit at any gathering before people even try it.  There's something about a giant pile of brownies that just gets people going.  Oh, and a cake, too.  I was actually really impressed with this recipe, the buttercream frosting tastes exactly like cookie dough and the cake is very good. To simplify things you could easily use box mix rather than bake your own cake and still come out with a great end product. 


Make the brownies first.  These can be made a day in advance and kept in the fridge.  This is a fairly involved cake so doing it over two days actually makes it a lot easier.  First, melt the chocolate in a double boiler.  


While it's melting, whisk the eggs together in a bowl.  Wait until the chocolate has cooled slightly after melting, then add to the eggs.  If the chocolate is too hot the eggs might start to fry.  I gave it about five minutes before mixing. 


Combine the sugar and flour in a bowl.  Add in the chocolate mixture and mix until just combined.  Pour the mixture into a 9x13 baking pan which has been greased and lined with parchment paper.  Leave some of the paper hanging over the edges of the pan - this makes it easier to remove the brownies once they are done cooking.   Cook at 325 degrees for about 30 minutes or until brownies are set. 
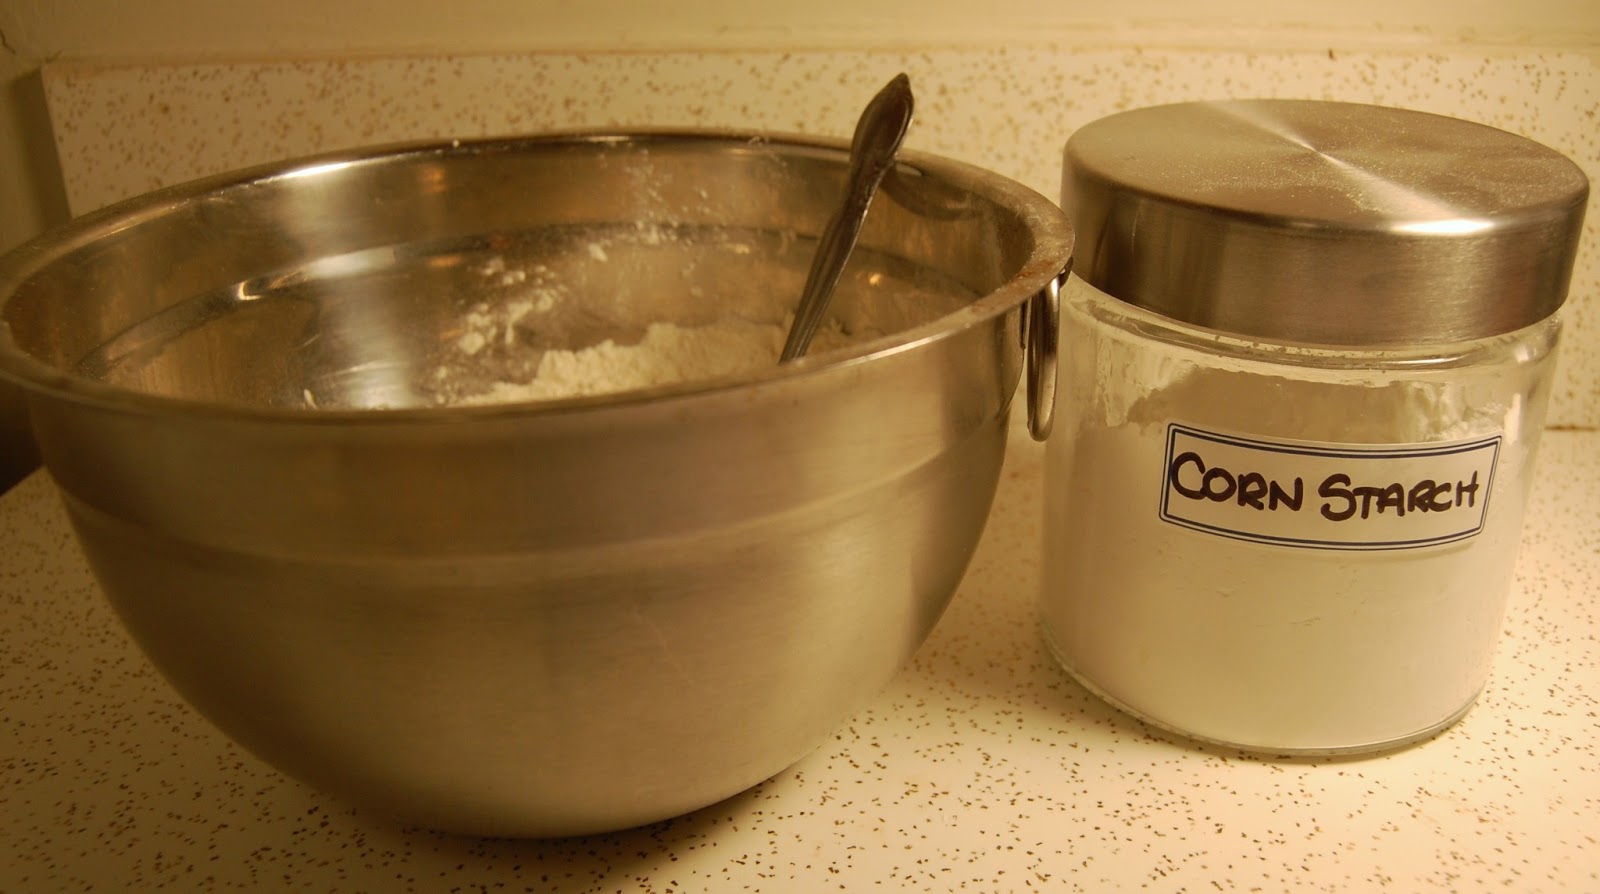


Now on to the cake.  Whisk together flour, baking powder and salt in a bowl.  Here you can see me adding corn starch to regular flour in order to create a substitute for cake flour. 


In another bowl beat together flour and sugar until fluffy.  Add eggs one at a time. Add vanilla and beat again until combined. 


Add flour mixture to egg mixture in two batches, alternating with the buttermilk and ending with flour.


Place the mixture in two separate bowls.  In a third bowl mix cocoa and boiling water until smooth.  Add this mixture to one portion of dough. 


Using a spoon alternate dropping the vanilla and chocolate dough into two cake pans.  These are 8" and the cake turned out fairly thin, so I wouldn't advise going much larger than that.  Pull a knife thru the batter before baking to create a swirl effect if desired. Bake for about 20 minutes at 375 degrees.


Prepare the buttercream.  Beat together butter and brown sugar on high until fluffy. Beat in flour and salt, then mix in milk and vanilla extract until well blended. Stir in the chocolate chips. 
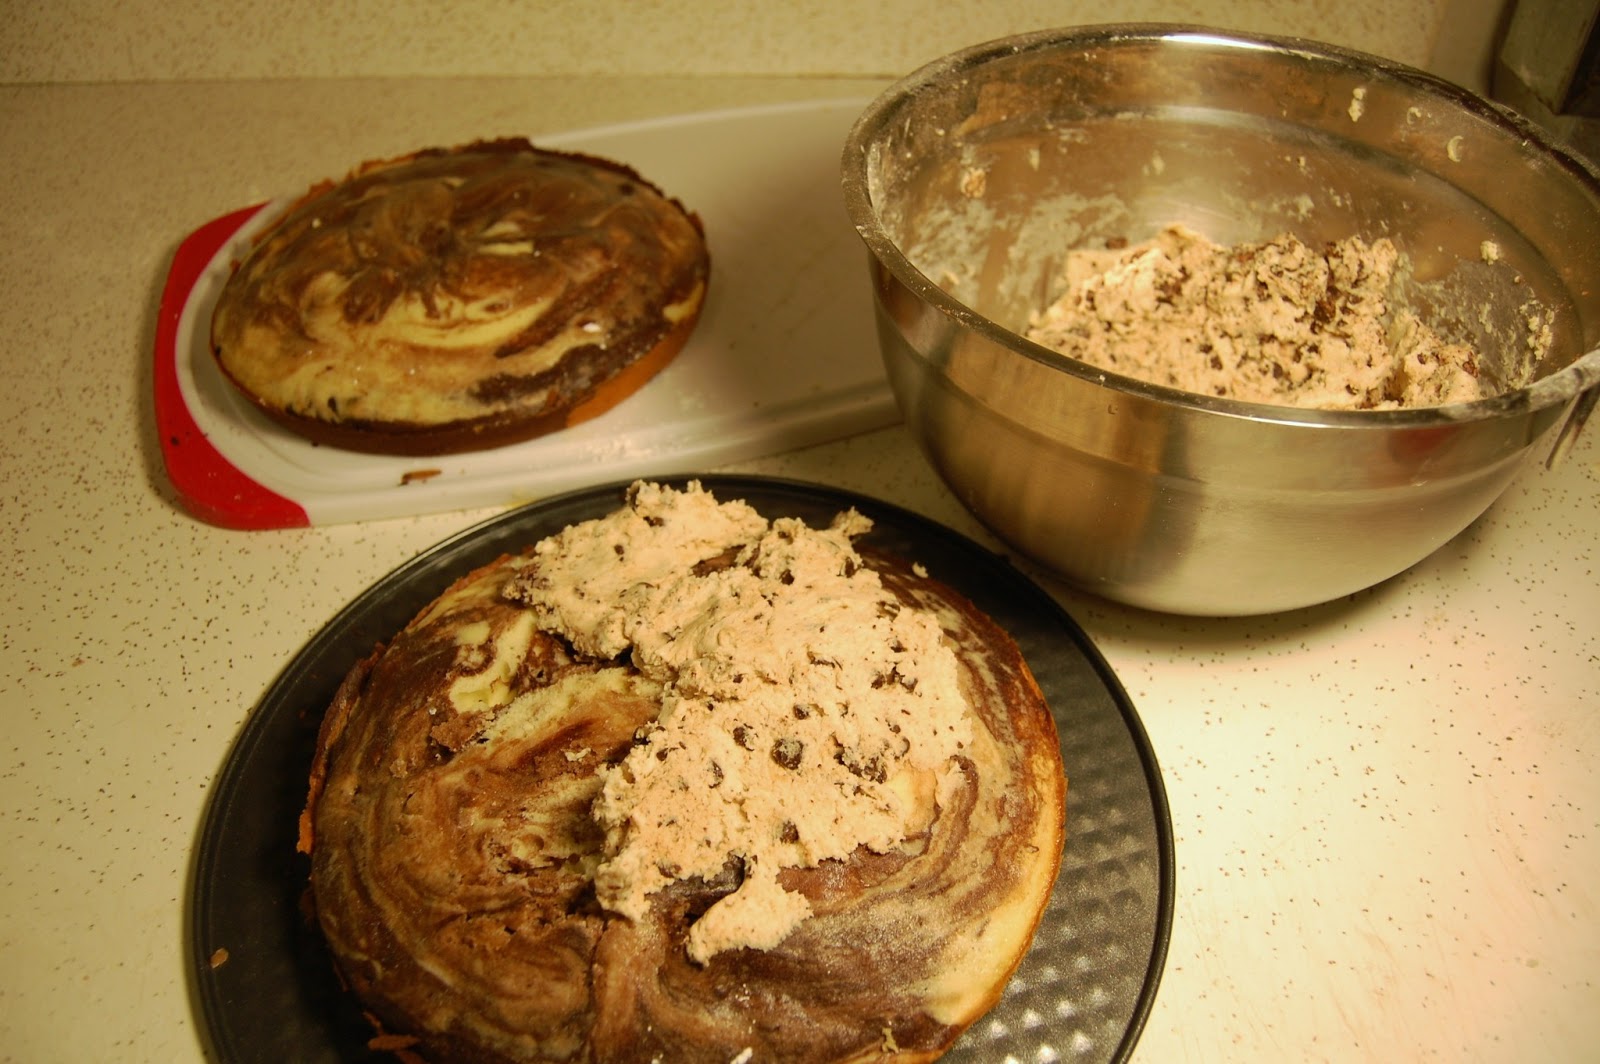


Once the cake is cool apply the buttercream. I found it very difficult to spread and ended up applying it by pressing it on with my hands, which worked pretty well.  


Where did this massive blob of cookie dough come from??? Oh wait, that's the cake. 


Pull out your brownies.  Slice and dice them into about 1" pieces.  You could go larger or smaller on this, I found this size looked the most proportional to my cake.  Pile the brownies haphazardly on top of the cake, creating the look of a chocolate mountain.  If desired, melt chocolate and drizzle over cake.  At this point you could also add nuts, sprinkles, or even more chocolate chips sprinkled over the cake. 

Fudge Mountain Cookie Dough Cake


For the cake:
115g (1 stick) butter, room temperature, plus more for greasing
300g (1 3/4 cups) cake flour (not self-rising, I used 270g plain flour + 30g (3 1/2 tbsp) cornflour/cornstarch as per these instructions)
2 tsp baking powder
1/2 tsp salt
225g (1 cup) sugar (I used caster sugar)
3 large eggs, room temperature
1 tsp pure vanilla extract
2/3 cup buttermilk, room temperature
1/4 cup + 2 tbsp boiling water
1/4 cup + 1 tbsp Dutch-process cocoa powder

For the buttercream:
250g (about 2 1/4 sticks) butter, at room temperature
2/3 cup light brown sugar, packed
2 1/2 cups (about 315g) icing/confectioners' sugar, sifted
2/3 cup (about 85g) all-purpose flour
1/2 tsp. salt
2 tbsp milk
2 tsp vanilla extract
200g (about 1 cup) mini chocolate chips or finely chopped pieces of milk chocolate

For the brownies:
200g (7oz) good quality dark chocolate, coarsely chopped
200g (1.75 sticks) butter, chopped
3 eggs at room temp
2 egg yolks at room temp
200g (about 1 cup minus 2 tbsp) caster sugar
115g (3/4 cup) plain flour
35g (1/3 cup) cocoa powder

Adapted from: Raspberri Cupcakes

Sunday, December 16, 2012

Eggnog Cookies


Believe it or not, I've only started drinking eggnog the last few Christmases... I was never a fan of eggs and could never get over the 'egg' part of the name to bring myself to try it.  Finally though, this wonderful drink has entered my life.  These cookies have a very strong eggnog taste and are a great alternative to the usual shortbread or sugar cookies of this time of year. 


This is a fairly simple recipe with a lot of impact - great for the holidays when time is short and need to produce impressive baked goods is high!  


Preheat oven to 300 degrees.  Cream sugar and butter with an electric mixer. Add eggnog, vanilla and egg yolks and beat at medium speed until smooth.


Sift together flour, baking powder, cinnamon and nutmeg then add to wet ingredients and beat until combined. 


Once your dough is formed roll out on a well floured counter.  I found my dough to be a bit wet following this recipe exactly so I ended up adding about 1/4 cup extra flour to stop it from sticking to the counter and rolling pin. 


Break out your excessively large collection of Christmas cookie cutters (what, you mean not everyone has several overflowing boxes?) and cut out a variety of holiday themed shapes until all the dough is gone.  Bake on parchment paper for 10-12 minutes 


Using the electric mixer again, beat together confectioners sugar, butter and eggnog called for in icing recipe until smooth.   Transfer mixture to piping bag or ziploc with a small corner cut off then drizzle over cookies.  Make sure the mixture is very smooth before transfer or else lumps will get caught in the tip of your piping bag and cause it to clog.  This will make it difficult to drizzle icing evenly.  Garnish each cookie with a sprinkle of nutmeg if desired. 


Eggnog Cookies


Ingredients
2 1/4 cups flour
1 teaspoon baking powder
1/2 teaspoon cinnamon
1/2 teaspoon nutmeg
1 1/4 cups sugar
3/4 cup butter, room temp
1/2 cup eggnog
1 teaspoon vanilla
2 egg yolks
1 tablespoon nutmeg
Icing
2 cups confectioners’ sugar
1/4 cups softened butter or margarine
1/3 cups commercial eggnog
Adapted from:  Between He and She

Sunday, November 25, 2012

Banana Booze Cake


This was a difficult cake to photograph, but trust me, it's tasty.  Not a recipe of exact proportions and one that is open to additions and interpretation, this variation of it includes pudding, bananas, cookies, and a healthy portion of liquor.  I think that next time I make this I may try a variation with coffee liquor and chocolate pudding.  Be sure to make in advance to allow pudding to saturate the cookies and bananas thoroughly before serving. 


For this you'll need banana liquor, Kahlua and Bailey's Irish Cream, or as close to these as you can get.  Here there are only 2 boxes of pudding shown but to make a cake of the size shown above (approx 18"x9"x4") you will need 4 boxes.  Look for the boxes that call for 2 cups of milk per box as this will give you the correct ratio of liquid to allow the pudding to come together despite the alcohol. 


Put all 4 boxes of pudding powder into a mixing bowl.  Add one cup of milk for each box (4 cups) as well as 2/3rds a cup of each type of liquor. 


Beat pudding with an electric mixer for however long is indicated on the boxes of pudding mix.  Mine called for two minutes at low speed.  Once this is done toss the pudding in the fridge to firm up. 


While you're waiting for the pudding, slice up some bananas very thin, about 1/8 of an inch thick. 


Pull out the pudding and spread a thin layer on the bottom of the the cake pan you are using. In this case I used a tupperware for ease of transport and storage, just pop on the lid and you're ready to go.  You could easily use a loaf pan, brownie pan, or your usual round pie plate. 


Spread a layer of cookies on top of the pudding, then a layer of bananas on top of them. The type of cookies isn't important. I've considered using chocolate chip, vanilla wafers, oatmeal, anything works as long as the pudding will be able to soak into them, so nothing totally coated in chocolate. 


Top the layer of bananas with more pudding, then repeat the pattern of adding cookies then bananas.  Continuing doing this until all pudding is gone, finishing with a layer of cookies.  Put cake in the fridge to allow pudding to saturate cookies and bananas with flavor, about 3-4 hours or overnight. When ready to serve, garnish with whip cream if desired. 


Banana Booze Cake

6 bananas
2 boxes of vanilla pudding
2 boxes of butterscotch pudding
4 cups milk
2/3 cup banana liquor
2/3 cup Kahlua
2/3 cup Bailey's Irish Cream
60 cookies

Sunday, November 18, 2012

Pumpkin Pie Cookies


These cookies are like little miniature pumpkin pies!  Each one contains its own small amount of pie filling and is quite delicious.  The original recipe I found these in calls for them to be shaped like pumpkins and have jack-o-lantern eyes and mouths cut into them, however, since it was after Halloween that I made them I went ahead and added white chocolate and caramel as decoration and they turned out just excellent!


No pictures of the mixing stage of the pastry, unfortunately  I realized too late that this dough needs refrigeration for 'several hours to overnight' so I was forced to make the dough quickly to give it time to rest.  It's fairly easy though. 

Mix the flour, sugar and salt with a fork, then add in butter and cut in with pastry mixer (or fork or potato masher if you're without) until there are no lumps of butter bigger than a pea.  After this, mix in just enough cold water until the dough holds together.  Probably best to just use your hands to mix at this point! Then divide the dough into two and wrap in plastic wrap as seen here, then pop it in the fridge for at least 2 hours. 


Once the dough is ready roll it out to about a half to a quarter centimeter thick.


I didn't have a perfectly round cookie cutter handy, so I used this one that was shaped like a Christmas ornament and just sliced off the nub to make round cookies.   You could use a cup if you're without a cutter but it doesn't work quite as well. 


Place the rounds on a parchment-lined baking pan.  Put about a tablespoon of pumpkin pie filling on each one, then top with another and push the edges down with a fork. Be sure to create deep indentations here as the cookies will puff up while baking and if you don't make them deep enough you will lose that super cute "pie" look.  Bake at 350C until bottoms are lightly browned and tops no longer feel soft or wet. 


While those are baking melt white chocolate chips in a double boiler until smooth and runny. 


Use a proper icing bag and tip if you have it and fill with white chocolate. If you're like me and don't have those things, put a ziploc over a tall glass as shown, with one corner pointed towards the bottom and fill it up with chocolate.  This makes for a much easier and cleaner fill up and gives you somewhere to rest the bag if you have to put it down for a couple seconds. 


Snip the corner off the bag and drizzle chocolate back and forth across the cookies.  Repeat the same melting and drizzling process for caramels. Beware that caramel will be MUCH stiffer and take longer to melt, however the process is the same. Just make sure there are no lumps left before transferring to the plastic bag and consider wearing an oven mitt as you drizzle, as I found the caramel to be much warmer than the chocolate. 


Pumpkin Pie Cookies

2 ½ cups flour (whole wheat pastry or all-purpose)

6 tablespoons sugar

1 teaspoon salt

2 ½ sticks cold unsalted butter, cubed

~½ cup ice water

1/2 can pumpkin pie filling

1 cup white chocolate chips

1 cup caramels


recipe adapted from: Building Buttercream

Monday, July 16, 2012

Fruity Chocobowls


As you may have guessed from the name, this is a combination of recipes and my own creation.  A bowl made of solid chocolate, filled with a fruity cream cheese pudding, garnished with bits of Skor and assorted other crushed up chocolate bars.  These would also be good with whip cream, caramel, nuts, sprinkles or pretty much any other topping you can think of. 


First off, this is not a recipe of exact proportions.  These are the ingredients I started with - eventually I ended up adding an extra brick of cream cheese and more icing sugar than was originally called for.  I also added some milk later on, to smooth out the pudding. 


Working on the chocolate bowls first gives them time to cool while you make the pudding. Start by melting all the chocolate chips in a double boiler until smooth.  Once melted, take them off the heat and let them sit until they're no longer warm to the touch.  Don't worry about it re-solidifying - once chocolate has been melted it will stay liquid for a long time.  Also, the thickening that happens in the chocolate makes making the bowls easier.  I waited almost an hour before proceeding. 


Now for the balloons! These are used to create the shape of the bowl.  Each is dipped in chocolate, then later deflated once the chocolate has hardened.  You want to use water balloons or other small balloons.  Now is a good time to enlist your friend, room mate, significant other or anyone else who may at one point have enjoyed your delicious baking to help  you blow up about 20 balloons.  More than likely some will pop and not survive to become bowls, so inflate more than you think you will need. 


Now that the balloons are inflated and the chocolate is cooling, it's a good time to start on the pudding. Take your frozen fruit - as much as you want, really - I used about 1.5 cups, and chop up any particularly large pieces. 


Once fruit is chopped put cream cheese and icing sugar together and beat with a hand mixer until fluffy.  Add milk and vanilla and beat until combined. Again, isn't a recipe of exact proportions, so taste and add until you get something you like. 


Throw in the berries and mix until everything is well blended.  It can be chunky, if you would prefer it that way, or you can beat it until it's smooth.
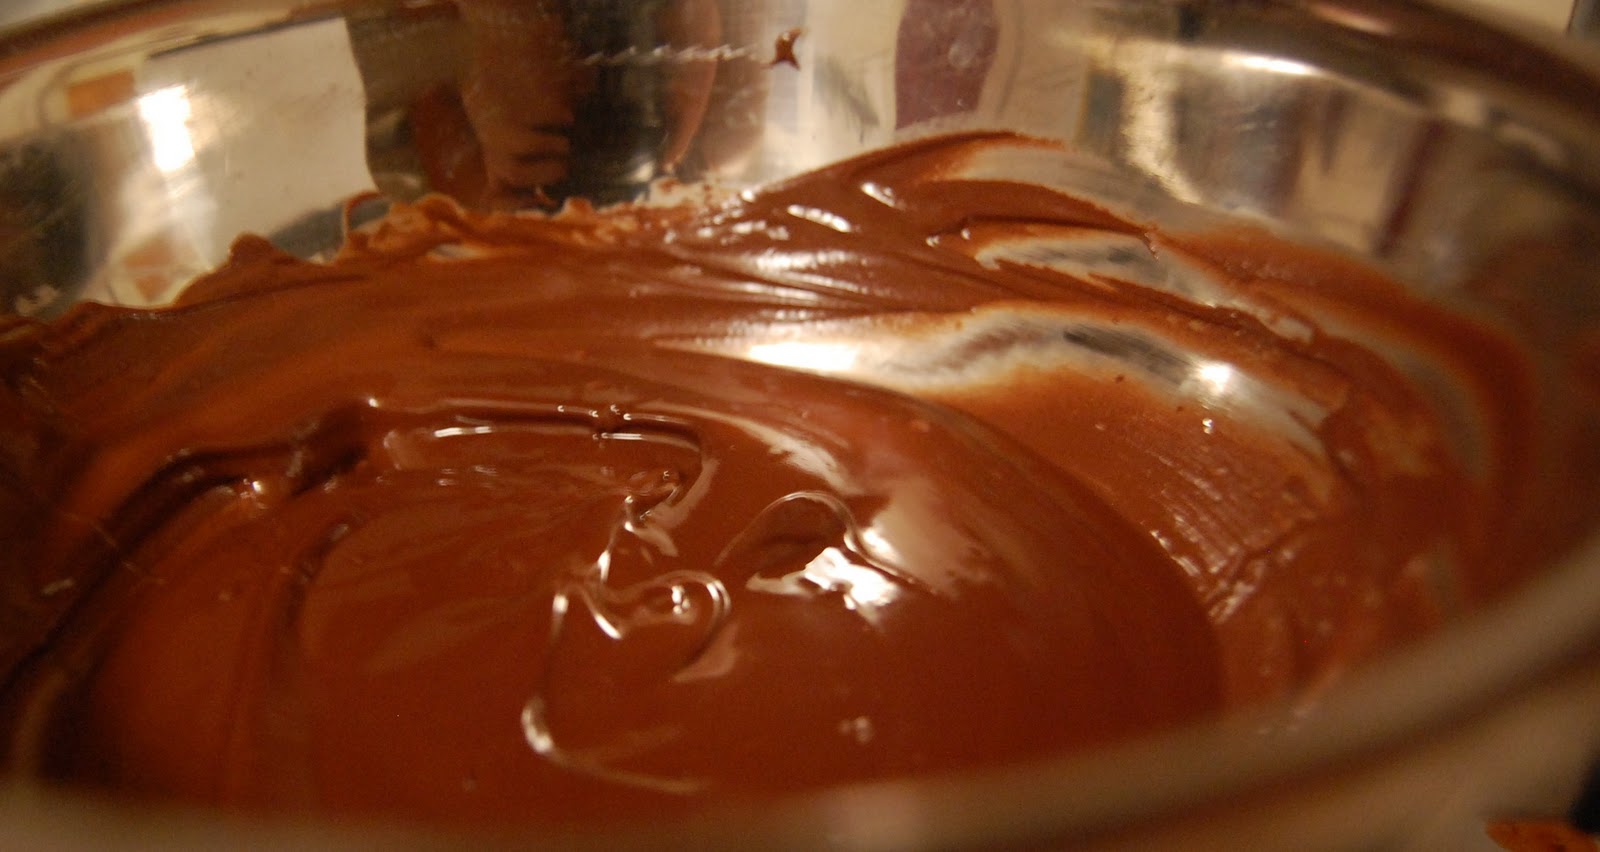


Back to the bowls! Once your chocolate has totally cooled, take balloons by the end and dip them into the melted chocolate.  You may have to swirl them on their sides a bit to get a good chocolate coating.  Gently place balloons on a parchment lined baking sheet and let sit at room temperature for about 10 minutes, then transfer to fridge.  After totally solidified in the fridge bowls can be transferred to the freezer to further firm up.  This is particularly a good idea if you're going to have to transport them from where they're being made to where they will be served.  


Once the chocolate has set up in the fridge for about 30 minutes, use a pin or scissors to put a small hole in the tip of the balloon.  Use this hole to slowly and gently release the air from the balloon.  The balloon should peel away from the chocolate, leaving just the bowl.  If you have trouble getting the balloon out, refrigerate for a while longer - the balloon should pull away from the chocolate naturally and it will be easier to remove. 


Don't get discouraged if you loose a few balloons during the dipping/cooling/popping process - I lost about 3 total.  Just make sure you make a few extra and experiment with what works best for you.  Once bowls are set, fill with pudding and garnish with toppings of your choice. 


Fruity Chocobowls

yield: about a dozen

Pudding:
2 350g bricks of cream cheese
1.5 cups of mixed frozen berries
3/4 cup icing sugar
1/4 cup milk
1 tsp vanilla

Bowls
500g chocolate chips (any kind)
~20 water balloons
Garnish (Anything works, sprinkles, whip cream, smashed up chocolate bars, nuts, etc)


Saturday, January 29, 2011

Chocolate Coated Candied Orange Peels


These things are A-MAZ-ING.  They say everything is better home made, so what could be better than something that tastes like a home made Terry's Chocolate Orange?  I accidentally made about a trillion of these, so be careful if you're going to double the recipe.  You will end up with tupperware containers FULL of these guys.  On the other hand, they do take a while to make, so if you're into chocolate and orange, it might be worth making one big batch and saving them. 

First, cut your orange in half top to bottom.  Using your hands or a spoon, scoop out the orange pulp from the inside, leaving only the peel.  You can also juice the oranges then scrape out the remaining pulp, if you want to make orange juice out of it.

Cut orange peels into thin slices.  Try to keep then as consistently sized as possible.


This is where the fun really starts! Blanche the peels by putting them in a pot with cold water, covering them by about 1". Put a lid on the pot.  Bring the water to a boil, allow to boil for a minute or so, then drain water.  Repeat this process two more times.  Blanching is important as it removed the bitterness from the peels. 

Mix together 1 cup sugar and 1 cup water to make a simple syrup.  Add syrup to orange peels and bring to a boil. Reduce to a simmer and allow most of the water to simmer away.  Don't wait for all of it to evaporate, as this will get your peels burnt and stuck to the bottom of the pot. Err on the side of taking it off too soon rather than too late.  Remove peels from syrup with a slotted spoon, placing them on baking sheets to dry.  Allow to dry for 4-5 hours, possibly overnight depending on the humidity where you are. Peels should be hard before dipping, but I dipped some that were still sort-of soft and it
was still delicious, just chewier.  


Melt chocolate in a double boiler.  Make sure the chocolate is really melty before you begin to dip the orange peels.  Chocolate isn't very warm will stick to the peels too much and result in an too much chocolate sticking to each peel. 

Dip each peel into chocolate.  You can dip the whole thing or just half.. I tried to do about 3/4 but it got more difficult as I started to run out of chocolate and resulted in a few finger burns, so be careful or use forks to manipulate the peels in the chocolate.

Chocolate Coated Candied Orange Peels

3 sunkist oranges
1 cup water
1 cup sugar for syrup
1-2 cup sugar for coating
Water for blanching
350g dark chocolate


Adapted from: Food.com